We all know about beaded beads, ideally a self-supporting, rigid, regular structure made up only of smaller beads. Well how about beaded buttons? A quick trawl of the net turns up mostly buttons made up from a covered button base, with seed beads over the top. I think that it is time to make more self-supporting, rigid, regular and robust beaded buttons!
When I make a piece of jewellery, it is an essential design element to finish it off with a clasp that is in keeping with the actual work. I quite often make a button and loop. Though I could use a toggle and loop, it's just personal taste. Of course a loop and button of the same beads as the work is best.
A button shape is preferable to a round shape because a loop needs a really close fit to keep from slipping off a round bead, but it will catch easily behind a flat button shape.


When I make a piece of jewellery, it is an essential design element to finish it off with a clasp that is in keeping with the actual work. I quite often make a button and loop. Though I could use a toggle and loop, it's just personal taste. Of course a loop and button of the same beads as the work is best.
A button shape is preferable to a round shape because a loop needs a really close fit to keep from slipping off a round bead, but it will catch easily behind a flat button shape.
Pellet beads + Chaton, Tila Beads, and Seed beads + Chaton, beaded buttons
These beaded buttons could also be used on actual clothes, for example a skating dress that already had lots of gems and embroidery, (that was destined only for the dry cleaners).
Another beaded button that I have made is on the Buttercup Bracelet. Each buttercup is effectively a button, so the bracelet can be fastened to any length, by choosing which button to put the loop over.
Buttercup Bracelet
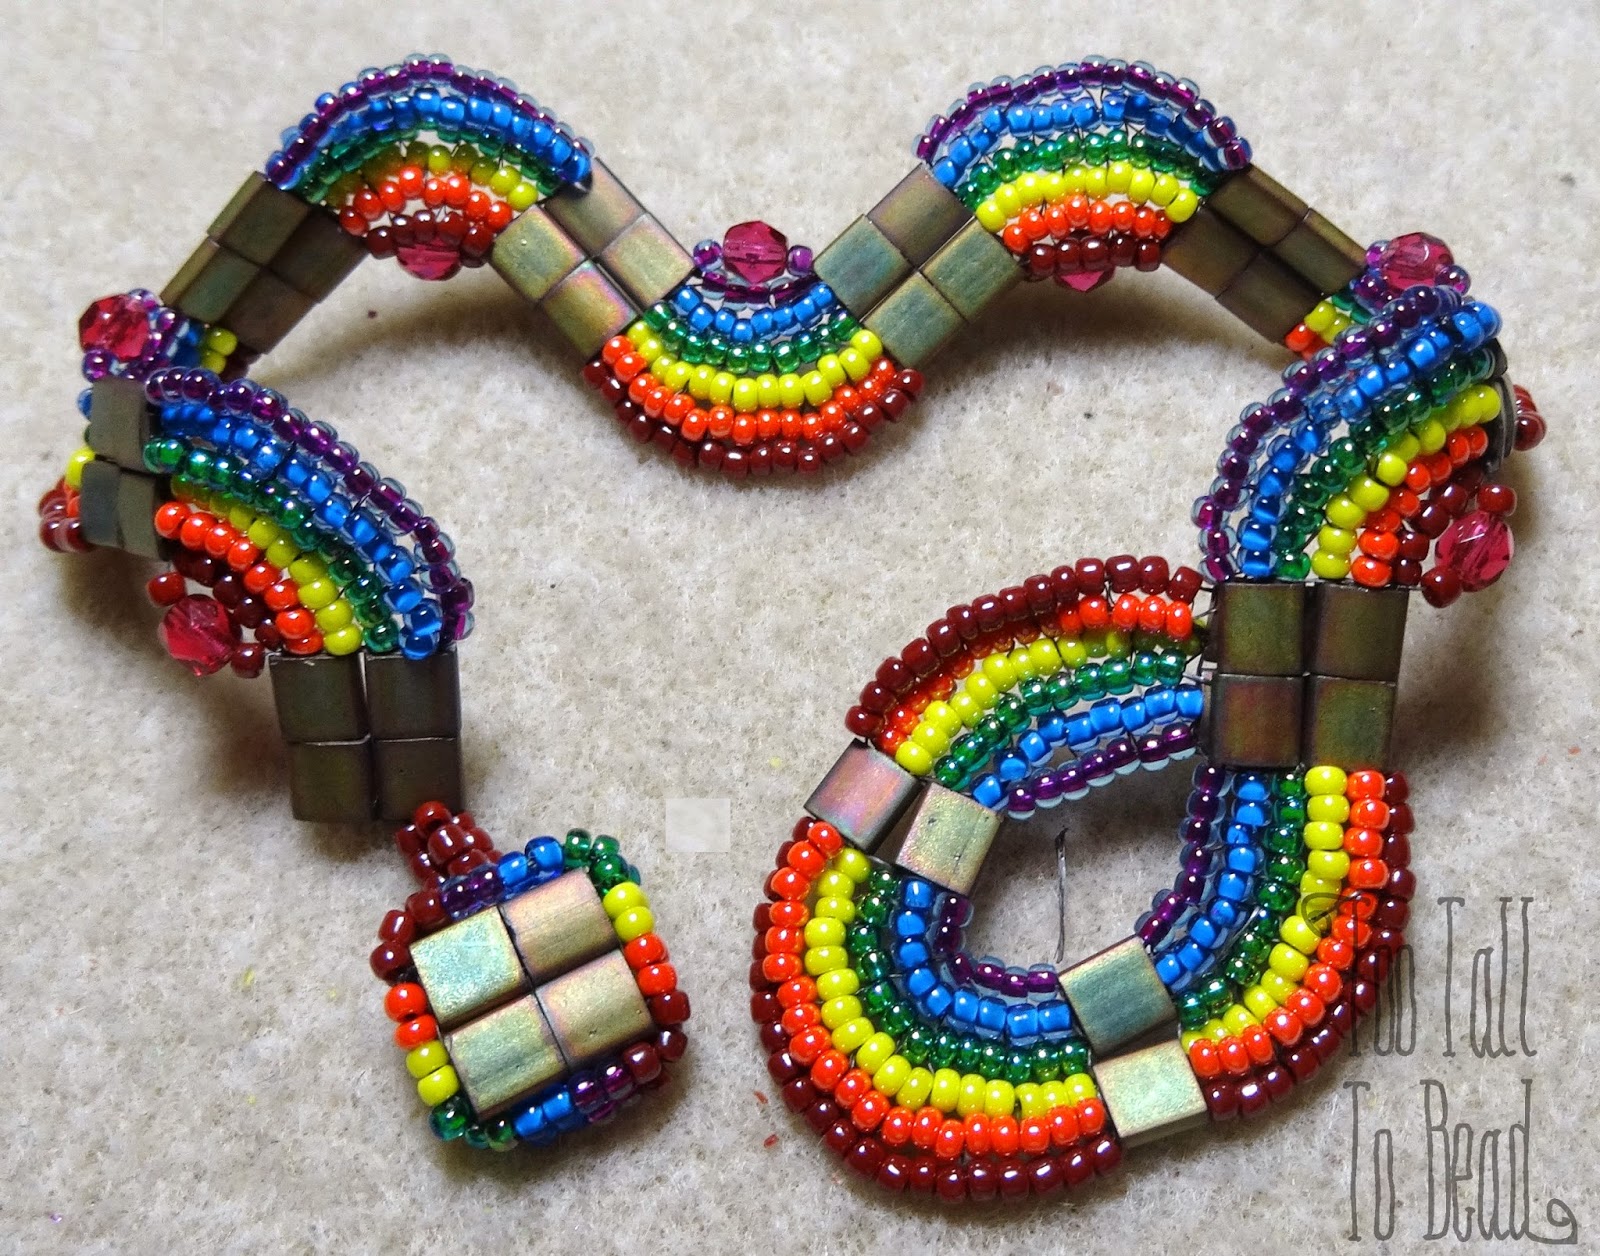
And finally a four-square beaded bead on my Rainbow Helix Bracelet
Rainbow Helix Bracelet
So there's definitely plenty of scope for making beaded buttons. It helps to start with a flat shape of bead, such as a tila bead. Keep it simple, the finished bead must be robust enough to stand some manipulation when pushed through a loop, and that loop does not need to be too tight.
Right, I'm off to make some pyramid beaded buttons!
Keep a look out for other beaded buttons that might be out there, I would love to know where they are?
This blog has now moved to :TooTallToBead.co.uk
This blog has now moved to :TooTallToBead.co.uk


